| Version 1 (modified by Robert, on 10/23/08 at 13:34:38) (diff) |
|---|
MinGW:Grub2:VMWare Development Environment Setup
This page describes Windows development environment setup with MinGW, Grub2 and VMWare.
Build RTEMS Using MinGW
Please refer to MinGW Tools for Windows for details of how to setup MinGW to build RTEMS on Windows. The following are brief steps to build a pc686 BSP:
export PATH=/c/opt/rtems-4.9/bin:${PATH} cd /usr/local/src/rtems tar -xvjf ../rtems-4.9.0.tar.bz2
mkdir i386_install mkdir i386_build cd i386_build ../rtems-4.9.0/configure --target=i386-rtems4.9 --enable-rtemsbsp=pc686 --enable-cxx --enable-rdbg --prefix=/usr/local/src/rtems/i386_install make all install
Workaround -lstdc++_s Issue
To temporarily workaround the build issue of "...ld.exe: cannot find -lstdc++_s", use vi to change "-lstdc++_s" to "-lstdc++" Makefile in the following 2 directory:
/usr/local/src/rtems/i386_build/i386-rtems4.9/c/pc686/testsuites/samples/iostream /usr/local/src/rtems/i386_build/i386-rtems4.9/c/pc686/testsuites/samples/cdtest
Create CD Image Using Grub2
Check out and Build the Latest Grub2 Source From SVN
As of this writing, as shown below there is a configure issue with the latest Grub2 release grub-1.96:
configure: error: GRUB requires a working absolute objcopy; upgrade your binutils
Fortunately someone already fixed it in SVN.
mkdir -p /usr/local/src/grub/build cd /usr/local/src/grub svn co svn://svn.sv.gnu.org/grub/trunk/grub2
cd /usr/local/src/grub/build ../grub2/configure --prefix=/usr/local make all intall
Workaround a Linking Issue
During the above configure step, to workaround the linking issue resulted from the lack of soft link in Windows, vi grub2/configure to change
cp -p "$srcdir/$ac_source" "$ac_file"
to
cp -pr "$srcdir/$ac_source" "$ac_file"
mkisofs and genisoimage
1) Download all executables from http://fy.chalmers.se/~appro/linux/DVD+RW/tools/win32/
2) Install all downloaded executables into /mingw/bin
3) cp /mingw/bin/mkisofs.exe /mingw/bin/genisoimage.exe
Create CD Image
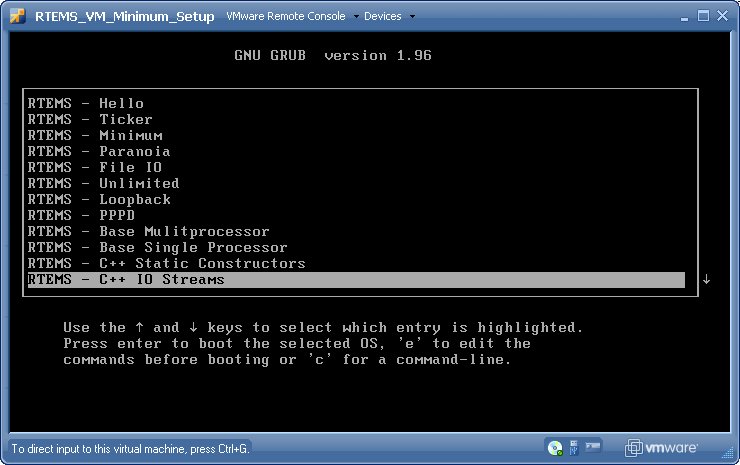
The following is a sample grub.cfg (Note that cd0 will be used by default):
# RTEMS Grubs Configuration for the Sample Tests
set default=12
menuentry "RTEMS - Hello" {
multiboot /tests/hello.exe
}
menuentry "RTEMS - Ticker" {
multiboot /tests/ticker.exe
}
menuentry "RTEMS - Minimum" {
multiboot /tests/minimum.exe
}
menuentry "RTEMS - Paranoia" {
multiboot /tests/paranoia.exe
}
menuentry "RTEMS - File IO" {
multiboot /tests/fileio.exe
}
menuentry "RTEMS - Unlimited" {
multiboot /tests/unlimited.exe
}
menuentry "RTEMS - Loopback" {
multiboot /tests/loopback.exe
}
menuentry "RTEMS - PPPD" {
multiboot /tests/pppd.exe
}
menuentry "RTEMS - Base Mulitprocessor" {
multiboot /tests/base_mp.exe
}
menuentry "RTEMS - Base Single Processor" {
multiboot /tests/base_sp.exe
}
menuentry "RTEMS - C++ Static Constructors" {
multiboot /tests/cdtest.exe
}
menuentry "RTEMS - C++ IO Streams" {
multiboot /tests/cxx_iostream.exe
}
menuentry "RTEMS - Capture" {
multiboot /tests/capture.exe
}
mkdir -p /usr/local/src/rtems/i386_install/grub_cfg/boot/grub copy your grub.cfg to /usr/local/src/rtems/i386_install/grub_cfg/boot/grub grub-mkrescue --overlay=/usr/local/src/rtems/i386_install/i386-rtems4.9/pc686/lib/rtems-4.9 \
--overlay=/usr/local/src/rtems/i386_install/grub_cfg /vm/pc686_rtems4.9.0.iso
(You can output the iso file in your chosen directory. I have a /vm mapping in my fstab.)= Simulate in VMWare Using ISO Image =
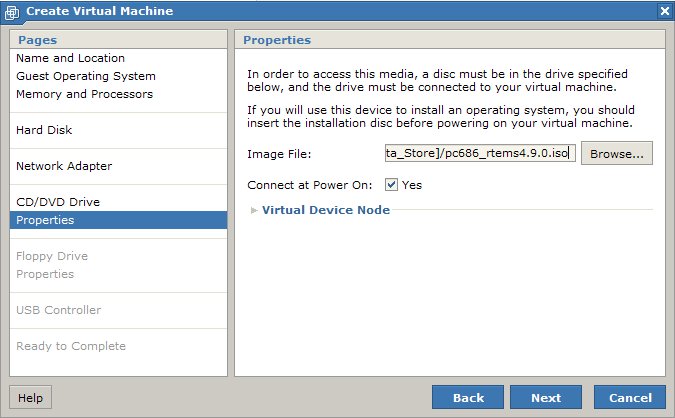
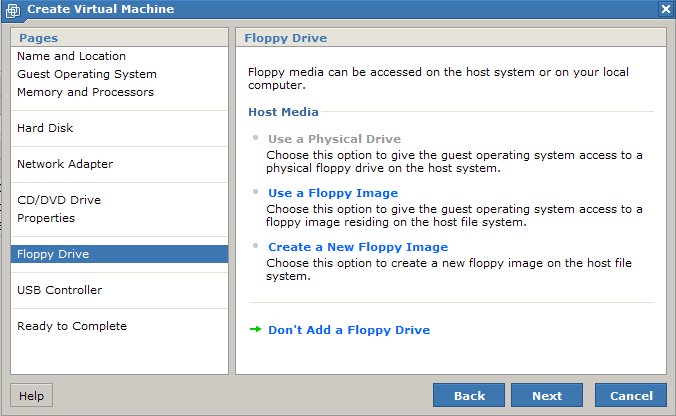
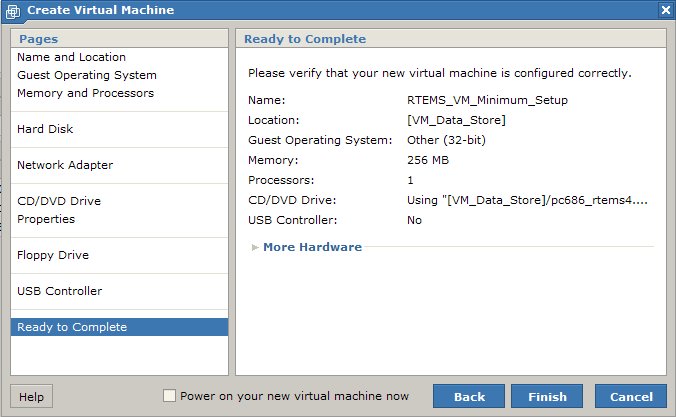
Download free VMware Server 2 (mine is VMware-server-2.0.0-116503.exe) from http://www.vmware.com/freedownload/login.php?product=server20.
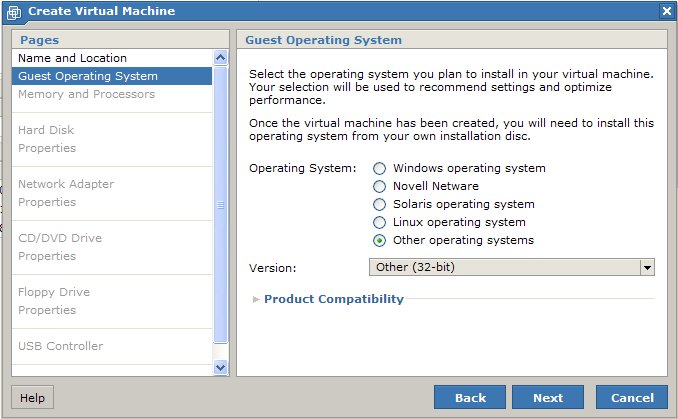
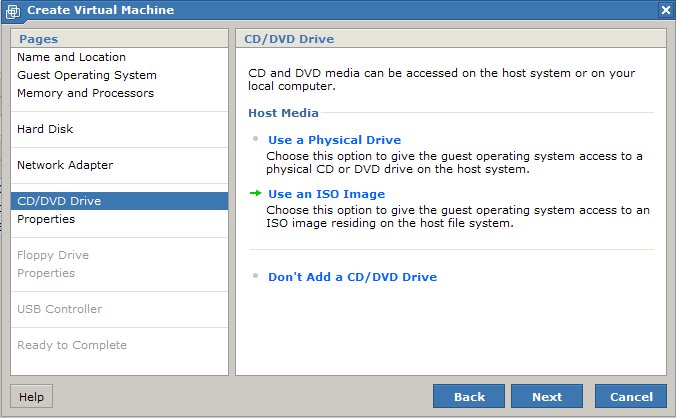
There is no need to actually burn ISO image into CD. When configuring CD/DVD drive in Create Virtual Machine wizard, select ISO image option to use the ISO image created in the above steps. This makes updating and testing RTEMS ISO image very convenient.
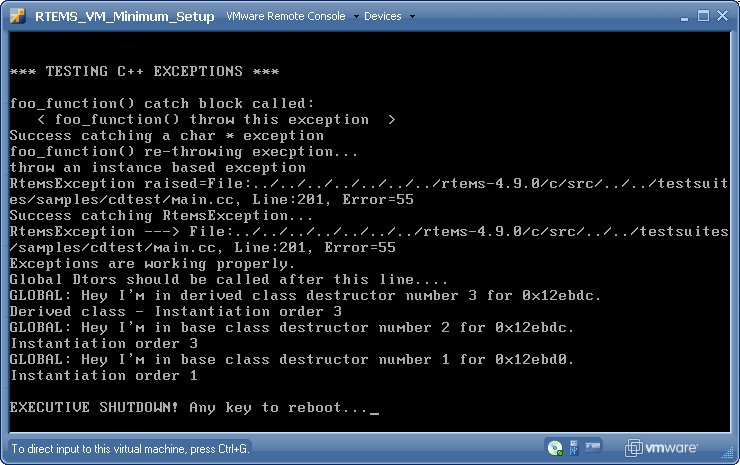
I tried out the hello, cdtest, cxx_iostream and capture examples in VMWare, and they worked.
Attachments (12)
-
MiniVM_Name.jpg (64.3 KB) - added by Amar Takhar on 11/23/14 at 05:06:40.
Imported from old wiki.
-
MiniVM_GuestOS.jpg (54.7 KB) - added by Amar Takhar on 11/23/14 at 05:06:41.
Imported from old wiki.
-
MiniVM_MemCPU.jpg (57.9 KB) - added by Amar Takhar on 11/23/14 at 05:06:41.
Imported from old wiki.
-
MiniVM_NoHD.jpg (47.3 KB) - added by Amar Takhar on 11/23/14 at 05:06:42.
Imported from old wiki.
-
MiniVM_NoNIC.jpg (42.0 KB) - added by Amar Takhar on 11/23/14 at 05:06:42.
Imported from old wiki.
-
MiniVM_isoCD.jpg (49.3 KB) - added by Amar Takhar on 11/23/14 at 05:06:43.
Imported from old wiki.
-
MiniVM_isoImg.jpg (48.1 KB) - added by Amar Takhar on 11/23/14 at 05:06:43.
Imported from old wiki.
-
MiniVM_NoFloppy.jpg (56.5 KB) - added by Amar Takhar on 11/23/14 at 05:06:44.
Imported from old wiki.
-
MiniVM_No_USB.jpg (36.7 KB) - added by Amar Takhar on 11/23/14 at 05:06:44.
Imported from old wiki.
-
MiniVM_Ready.jpg (45.3 KB) - added by Amar Takhar on 11/23/14 at 05:06:45.
Imported from old wiki.
-
MiniVM_Boot.jpg (52.8 KB) - added by Amar Takhar on 11/23/14 at 05:06:45.
Imported from old wiki.
-
MiniVM_Test.jpg (85.6 KB) - added by Amar Takhar on 11/23/14 at 05:06:46.
Imported from old wiki.
Download all attachments as: .zip